Did you know that proper wall framing is crucial for the structural integrity of your tiny house? In fact, a study found that over 80% of tiny house construction issues can be traced back to poor framing techniques.
But fear not, because in this discussion, we will equip you with the knowledge and skills needed to master wall framing for your tiny abode. From understanding the importance of precise measurements to tackling advanced techniques like roof framing, we will cover it all.
So, if you're ready to ensure your tiny house stands strong and sturdy, keep reading to discover the secrets of mastering wall framing techniques.
Key Takeaways
- Proper planning and layout are crucial for straight and well-laid out walls in a tiny house construction.
- Accurate measurements and the use of appropriate tools and techniques for marking the plates are essential for ensuring accuracy in wall framing.
- Cutting studs to the right length and using ring shank nails and screws are important steps in framing the walls.
- Collaborating with others can make the process of raising walls onto the trailer more efficient, while leaving an air gap for water drainage is vital to prevent potential issues with water infiltration.
Importance of Proper Wall Layout
Proper wall layout is crucial for ensuring the structural integrity and overall quality of your tiny house construction. Accurate measurements are essential to achieve precise results. By carefully planning and laying out your walls, you can maximize the efficiency of your construction process.
Accurate measurements allow for precise placement of studs on the top and bottom plates, ensuring that the walls are straight and well-laid out. This not only improves the overall aesthetic appeal of your tiny house but also contributes to its structural stability. A properly laid out wall eliminates the need for excessive adjustments and reduces the chances of errors during construction.
It streamlines the building process, saving you time and effort. So, take the time to plan and measure accurately for a more efficient and high-quality construction experience.
Techniques for Laying Out Studs
To ensure accurate and precise placement of studs in your tiny house walls, employ these techniques for laying out studs:
- Benefits of accurate measurements:
- Achieve straight and well-aligned walls for a professional finish.
- Ensure proper support and structural integrity.
- Minimize gaps and reduce the risk of air and moisture infiltration.
- Tools for marking plates:
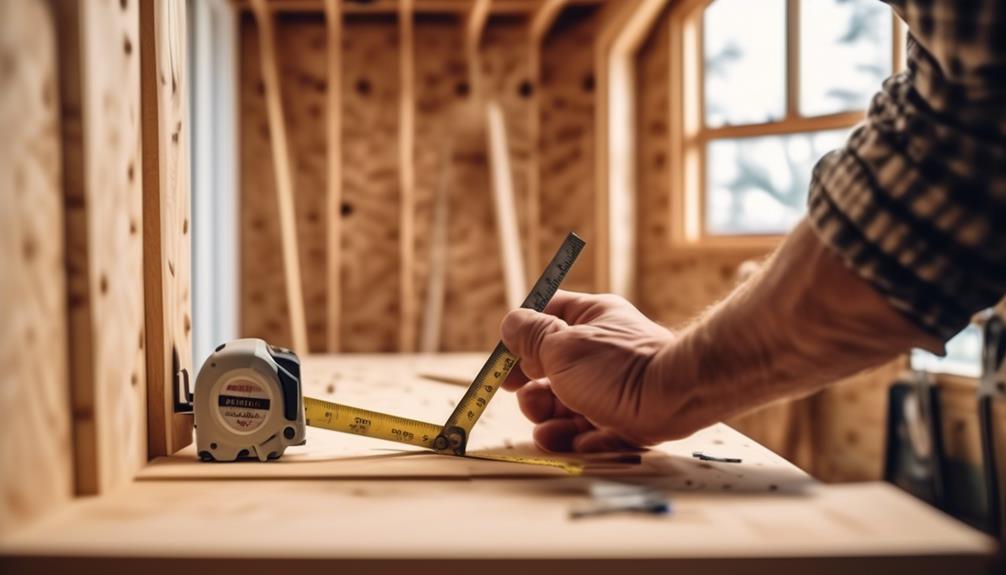
- Use a framing square to mark the layout of studs on the top and bottom plates.
- Utilize a tape measure for precise measurements.
- Consider using a chalk line or laser level for straight lines and accurate placement.
Cutting and Measuring Studs

When cutting and measuring studs for your tiny house walls, it's crucial to ensure accuracy and precision to achieve a structurally sound and well-aligned final result. Stud cutting techniques play a vital role in wall framing, as they determine the stability and integrity of the entire structure.
To ensure precise measurements, start by marking the locations of the studs accurately on the top and bottom plates. Use a tape measure and a square to measure and mark the desired stud lengths on the studs themselves.
When cutting the studs, employ a circular saw or a handsaw, making sure to follow the marked lines accurately. Remember to wear appropriate safety gear and use a sturdy work surface to secure the stud during cutting.
Framing Walls With Nails and Screws
Using a combination of nails and screws is the recommended method for framing walls in a tiny house. This technique offers several benefits, especially when it comes to using screws.
Benefits of using screws for wall framing include:
- Enhanced stability: Screws provide a stronger hold than nails, ensuring that the walls remain sturdy and secure.
- Easy disassembly: Unlike nails, screws can be easily removed without damaging the surrounding materials, allowing for easier modifications or repairs.
- Reduced risk of splitting: Screws have a smaller diameter than nails, reducing the chance of splitting the wood during installation.
Additionally, using ring shank nails instead of regular nails offers certain advantages:
- Increased holding power: The rings on the shank of the nail grip the wood more tightly, providing a stronger connection between the studs and plates.
- Reduced risk of pullout: The ring shank design prevents the nails from being pulled out easily, ensuring that the walls remain intact over time.
- Enhanced resistance to shear forces: Ring shank nails are less likely to be affected by lateral forces, making them ideal for withstanding the movement and vibrations that can occur in a tiny house.
Raising Walls and Dealing With Fender Area

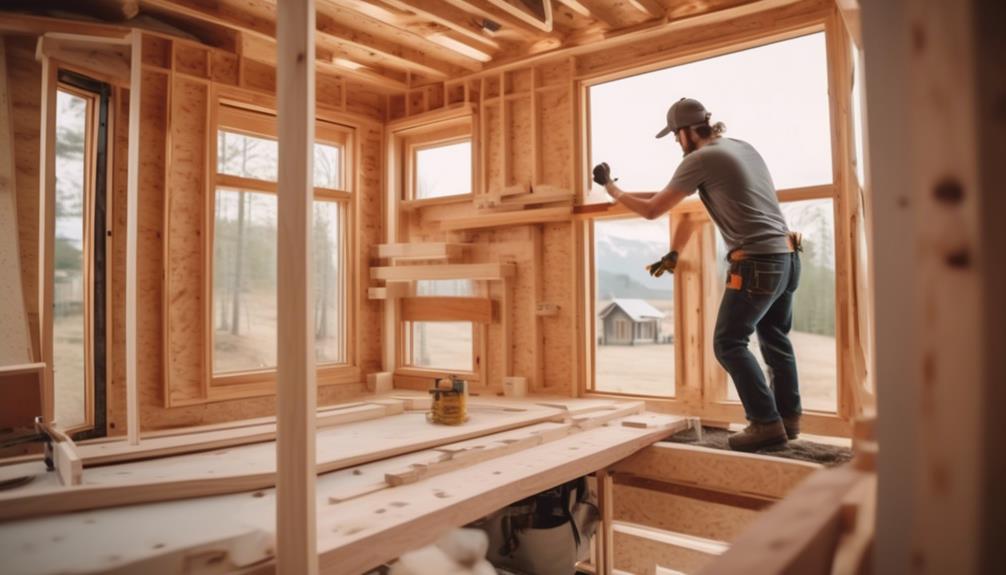
One effective approach for raising walls and addressing the fender area in the construction of a tiny house is to lay the walls down on the trailer during framing. This method allows for a collaborative wall lifting process, making it easier and faster to raise the walls onto the edge of the trailer. By utilizing the flat bed of the floor, the walls can maintain their straightness and ensure accuracy in measurements.
However, the fender area presents its own challenges. Potential issues include water and bug infiltration. To mitigate these problems, it's suggested to use a header spanning over the wheel well, constructed with two 24s and plywood. It's also important to leave an air gap for water drainage.
Roof Framing and Advanced Techniques
To continue the construction of your tiny house, the focus now shifts to the subtopic of 'Roof Framing and Advanced Techniques.'
This stage of the build presents some complexities, as you'll be working at height and dealing with compound angles. However, with the right tools and techniques, you can overcome these challenges and achieve a sturdy and efficient roof framing.
Here are some key points to consider:
- Utilize a speed square for precise rafter cuts, ensuring accuracy and efficiency in the process.
- Consider framing the walls 24 inches on center instead of the standard 16 inches to reduce material usage and weight.
- Incorporate collar ties for loft framing, which act as loft rafters to prevent roof collapse and provide added support and structural integrity.
Frequently Asked Questions
What Are Some Common Mistakes to Avoid When Laying Out Studs for Wall Framing?
When laying out studs for wall framing, common mistakes to avoid include inaccurate measurements, which can lead to crooked walls. It's crucial to ensure precise measurements to achieve straight and well-laid out walls.
How Can I Ensure Accurate Measurements When Cutting Studs?
To ensure accurate measurements when cutting studs, use a combination square and a tape measure. Mark the desired length on the stud, line up the square, and make the cut. Double-check measurements before cutting to avoid errors.
Are There Any Specific Guidelines for Choosing the Right Fasteners for Wall Framing?
When choosing fasteners for wall framing, follow these best practices: use ring shank nails or screws, select appropriate lengths and gauges, and prioritize strength and durability. Using the right fasteners ensures a sturdy and long-lasting wall structure.
What Are Some Alternative Methods for Raising Walls if Additional Help Is Not Available?
If you're flying solo and need to raise walls without help, you can use a wall jack for support and leverage temporary bracing to hold things in place. These alternative methods can make the process more manageable.
Are There Any Specific Considerations or Techniques for Framing Walls Over the Fender Area?
When framing walls over the fender area, consider the challenges of tight spaces and obstacles. Use innovative framing techniques to ensure structural integrity. Precision is crucial to accommodate these unique conditions and create a well-built tiny house.
Conclusion
In conclusion, mastering wall framing techniques is crucial for building a sturdy and structurally sound tiny house. Accurate measurements, careful planning, and proper layout of studs are essential for creating straight walls.
By utilizing the right tools and techniques, such as cutting and measuring studs accurately, using nails and screws for framing, and understanding advanced roof framing, you can ensure your tiny house is built to withstand the elements.
Fun fact: Did you know that walls framed with screws are 10% stronger than those framed with nails?

